Institution Users and Branches

An institution is a customer/user type in OnDi. A transfer manifest starts from one institution branch, so the institution profile must exist before drivers can scan branch QR codes or pick up branch barcodes.
Step 1: Open Customers
- Sign in to the tenant admin portal.
- Open Customers.
- Confirm the table has a User Type column.
- Use this page to find existing institution customers or add a new one.
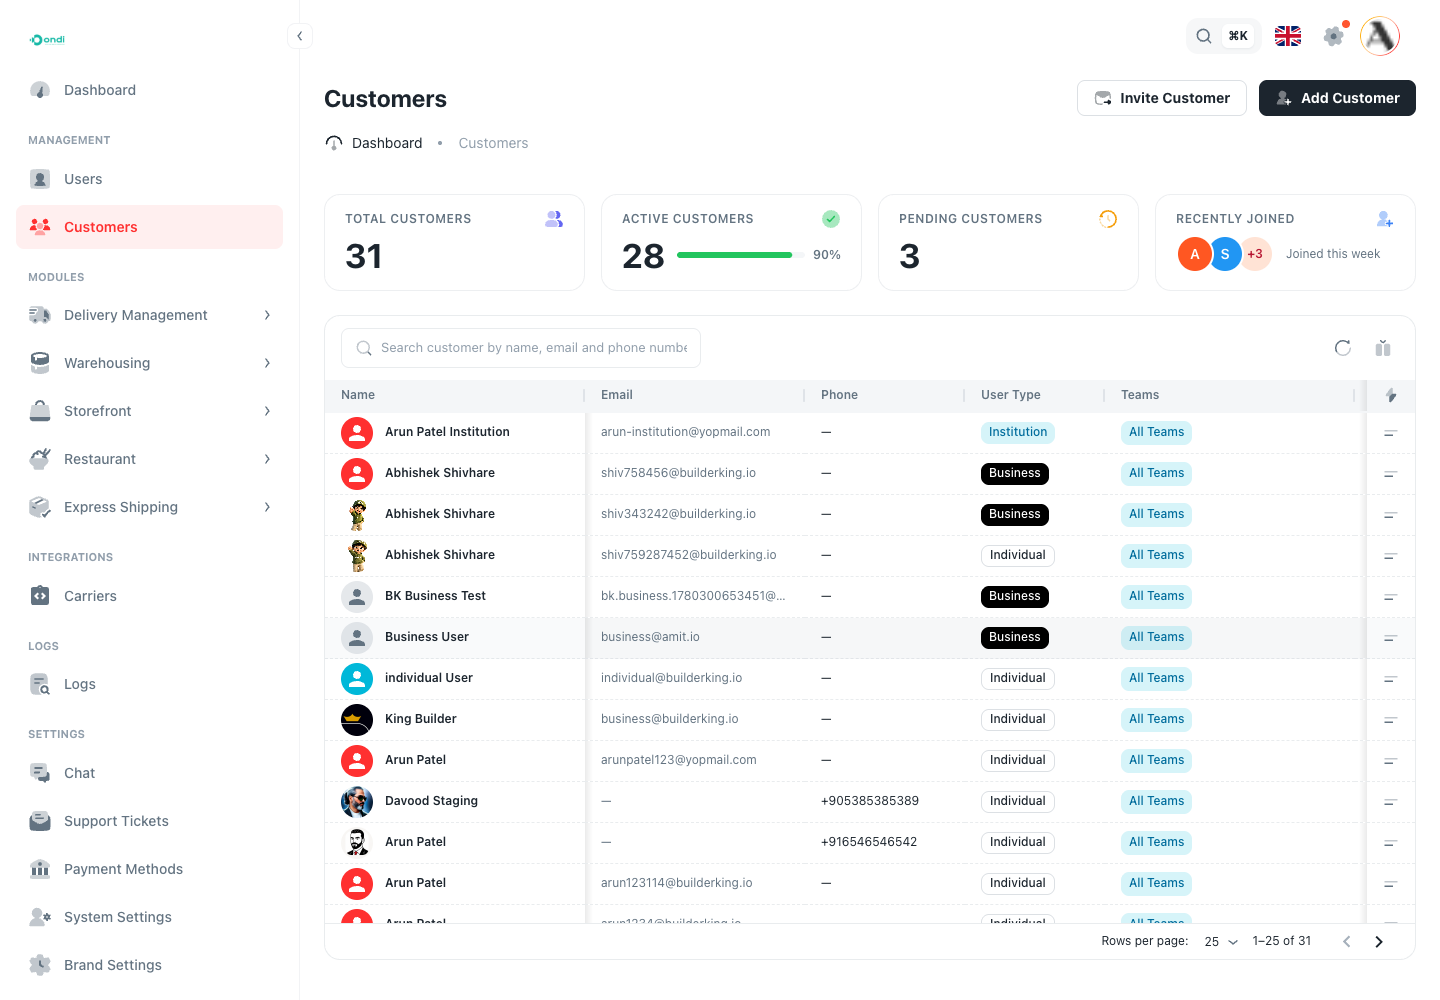
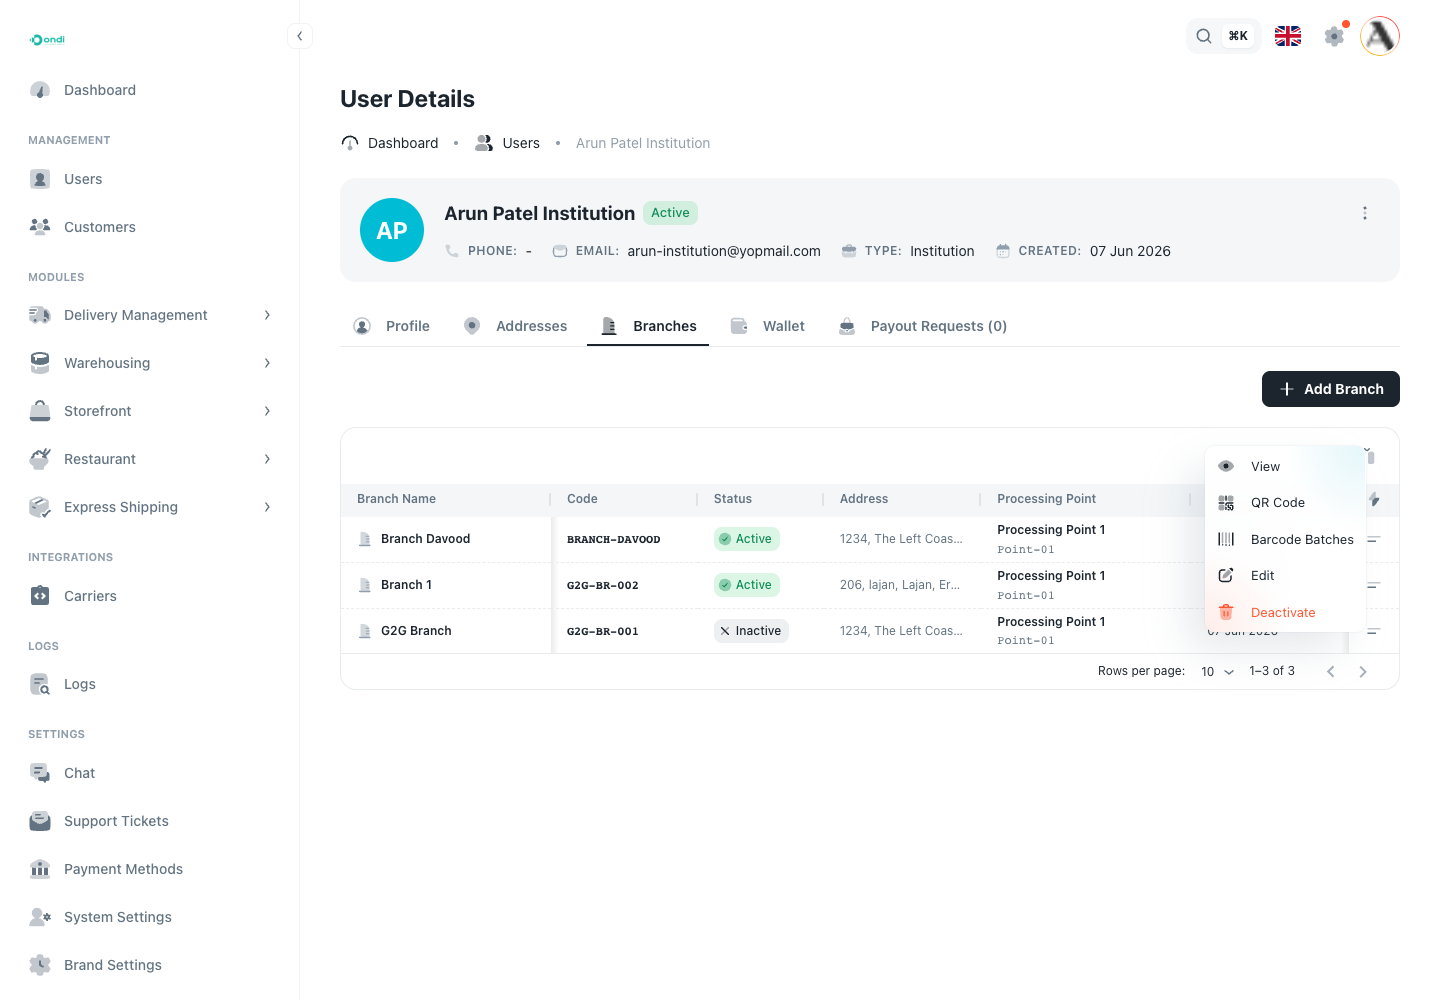
In the example above, the customer Arun Patel Institution is an institution because its user type is Institution.
Step 2: Create An Institution Customer
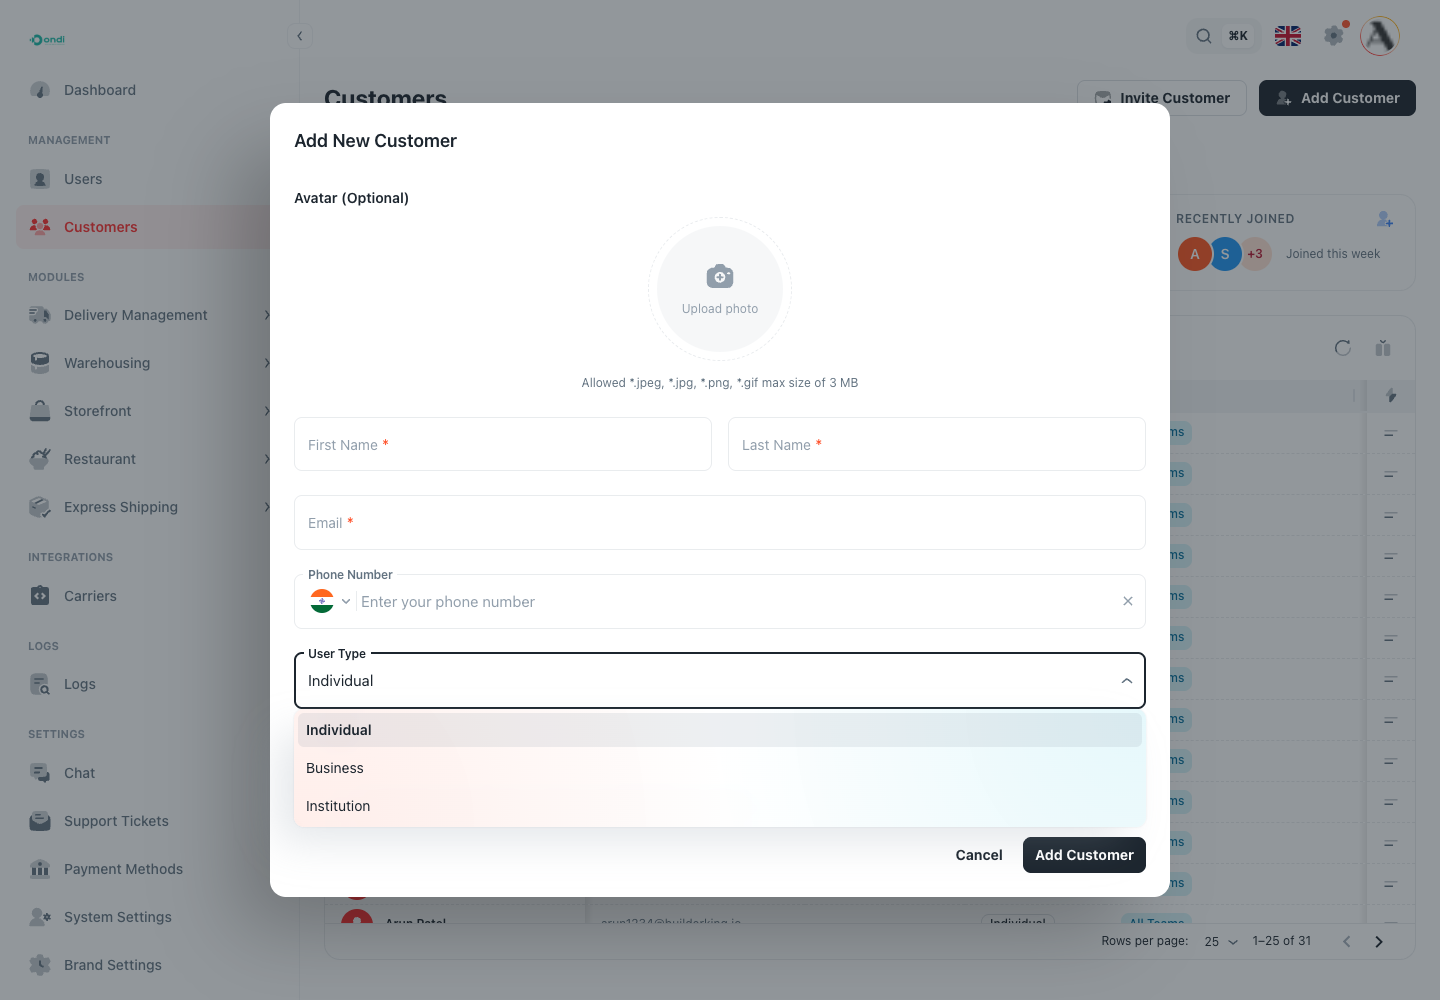
- Click Add Customer.
- Enter the customer name and required contact fields.
- Open User Type.
- Choose Institution.
- Click Add Customer.
Use Institution only for customers that will provide branch pickup items for G2G. Normal delivery customers should stay Individual or Business according to your operation.
Step 3: Open The Institution Detail Page
- Return to the Customers list.
- Open the institution customer row.
- Confirm the profile header shows TYPE: Institution.

The institution detail page is where you manage the pickup locations for that institution.
Step 4: Open The Branches Tab
- On the institution detail page, open Branches.
- Treat this as the institution locations area. Some teams may refer to these as branch locations.
- Review the existing branch names, codes, addresses, status, and processing point.
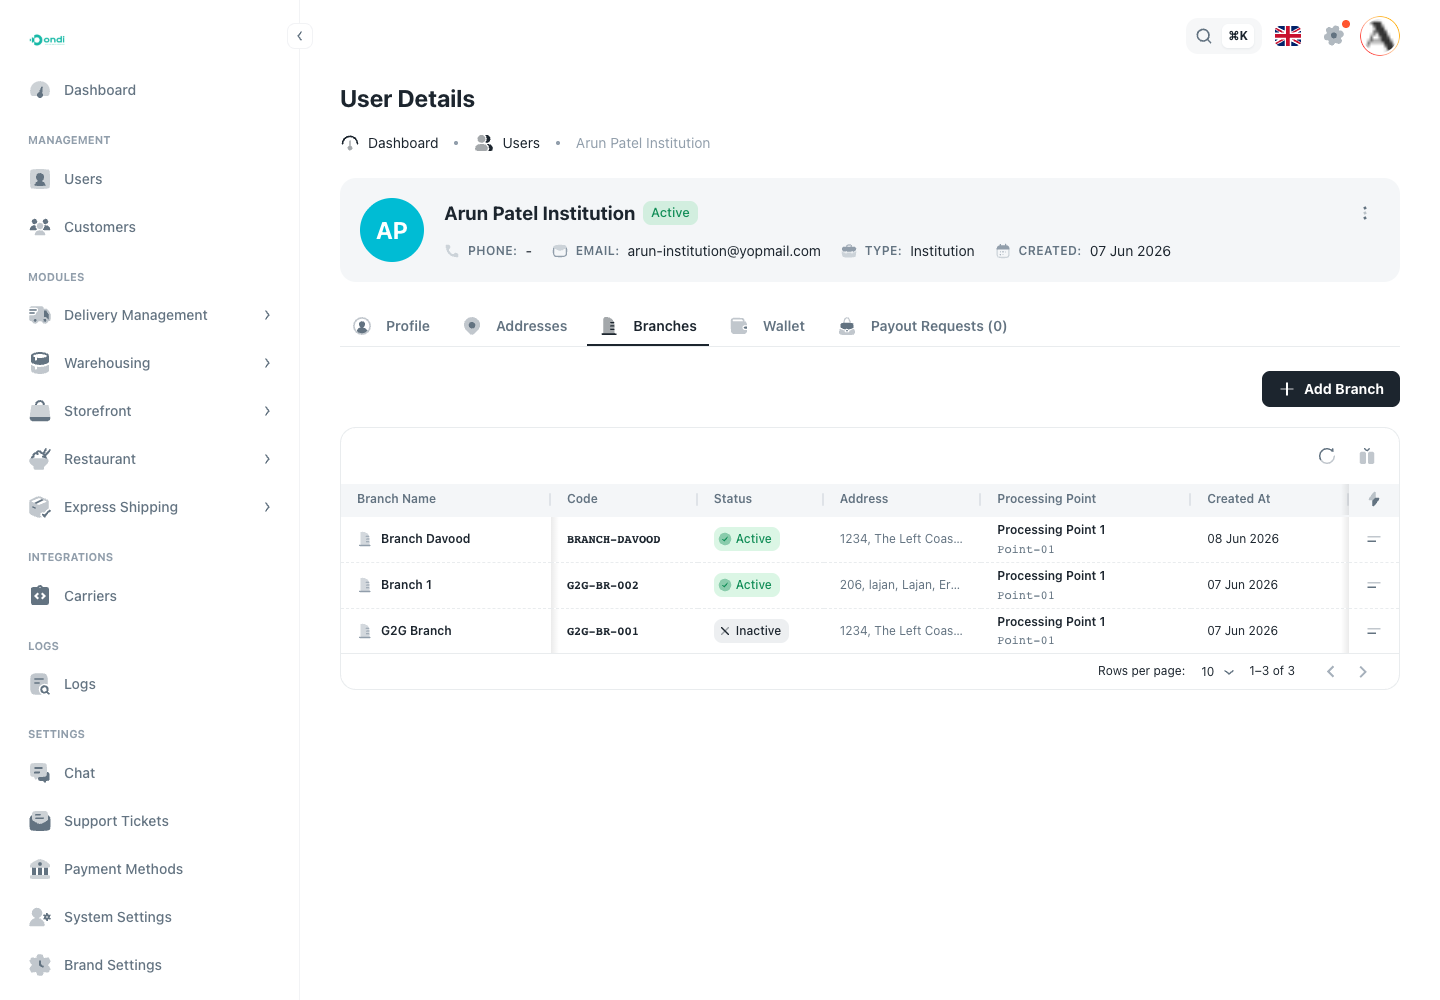
Only active branches should be used for new manifests. Inactive branches stay visible for history, but drivers should not use them for new pickup work.
Step 5: Add A Branch Location
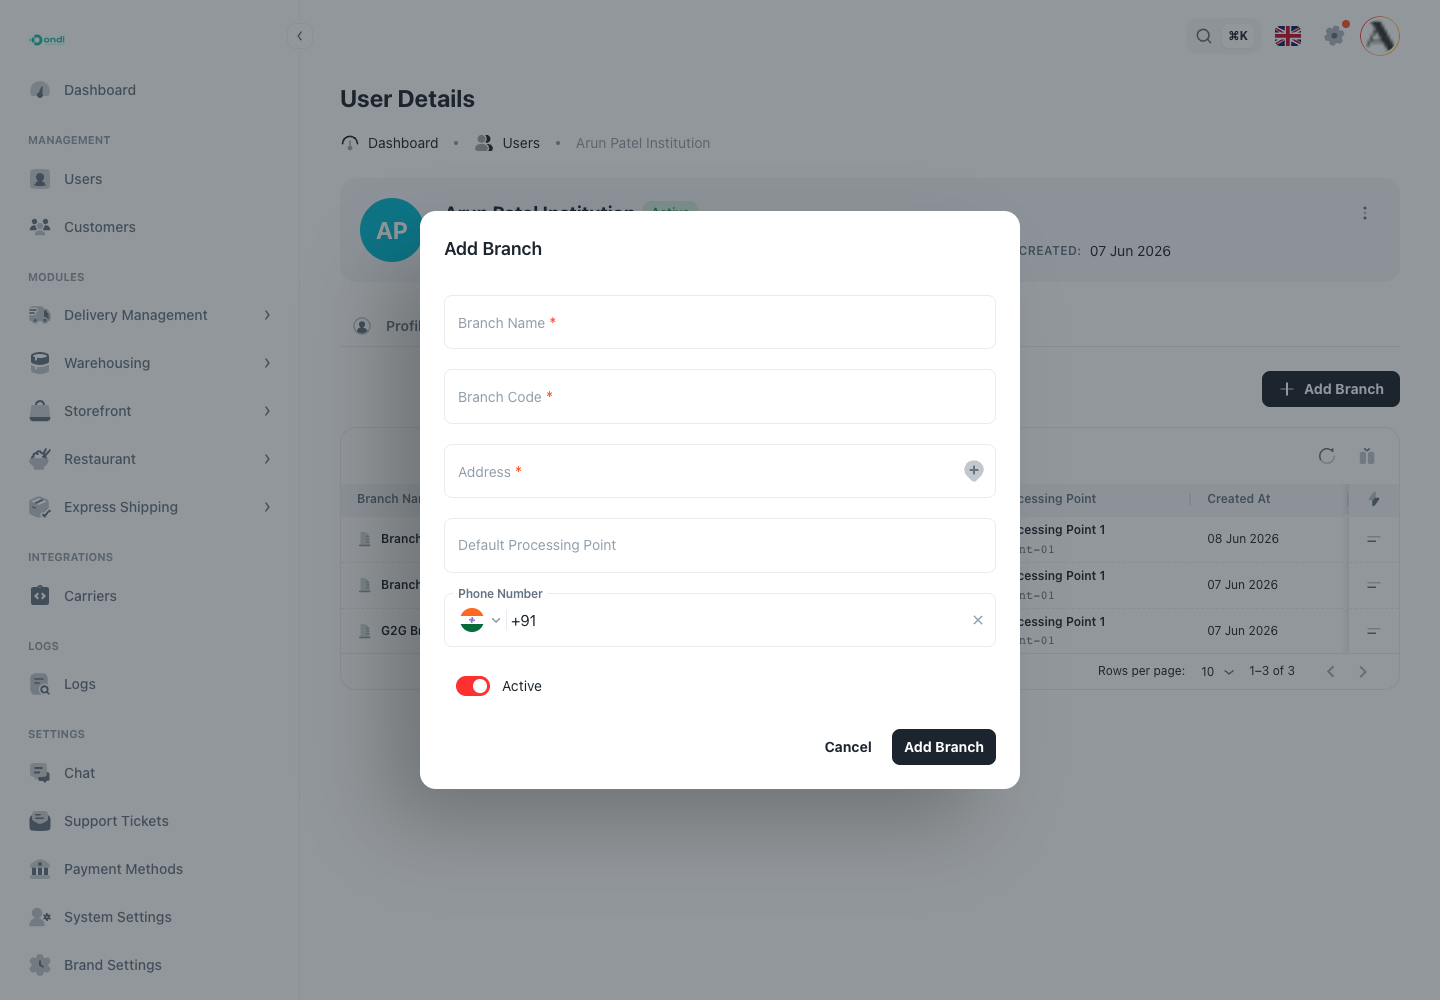
- Click Add Branch.
- Enter the Branch Name users will recognize.
- Enter a short Branch Code.
- Add the pickup Address.
- Choose the Default Processing Point for this branch.
- Add a phone number if the branch needs a contact number.
- Keep Active on when drivers can pick up from the branch.
- Click Add Branch.
If the form marks the processing point as required, choose one before saving the branch. Drivers can be blocked when a branch has no usable processing point.
Step 6: Use The Branch Actions Menu
Each branch row has an actions menu. Use it to view branch details, open the QR code, manage barcode batches, edit the branch, or deactivate it.
Step 7: Share The Branch QR Code
The branch QR code helps drivers start a manifest without manually searching for the institution and branch.
- Open the branch actions menu.
- Click QR Code.
- Download or display the QR code according to your operation.
- Put the QR code where pickup drivers can scan it at the branch.
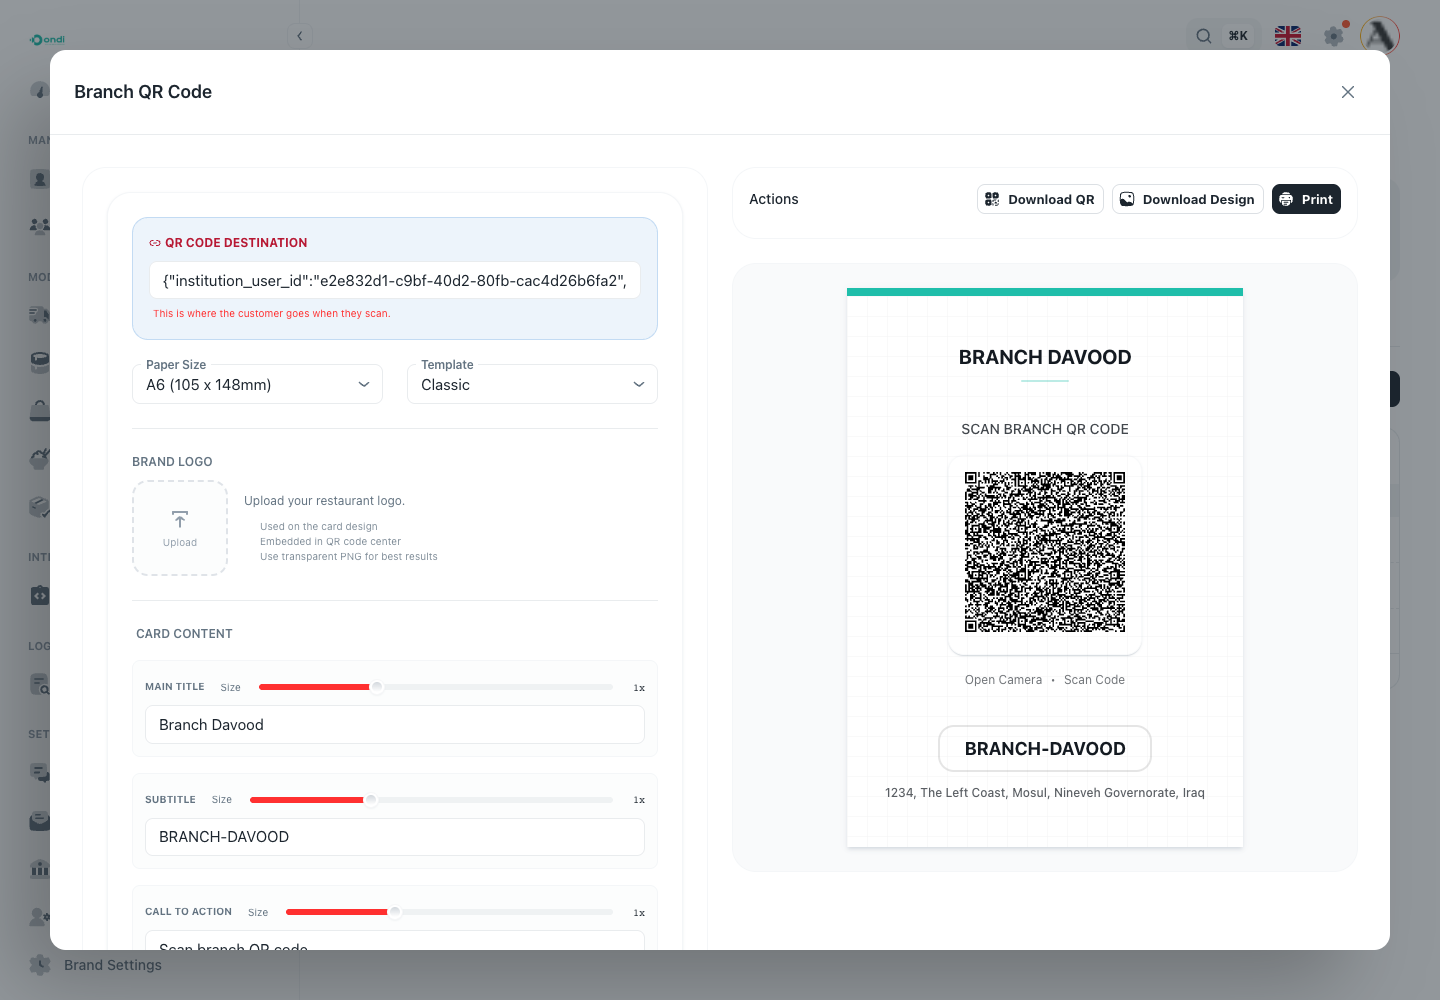
When a driver scans the branch QR code, the driver app can fill the institution and branch details from setup. If the branch has a default processing point, the app can use that too.
Step 8: Manage Branch Status
Use branch status carefully:
- Keep a branch Active when drivers can collect from it.
- Set a branch Inactive when it should no longer be used for new pickup manifests.
- Do not delete or rename historical meaning away. Old manifests and orders still use branch history for traceability.
Branch Checklist
Before printing barcodes for a branch, confirm:
- The branch belongs to the correct institution.
- The branch name and code are recognizable.
- The pickup address is correct.
- The default processing point is correct or driver selection is allowed by settings.
- The branch is active.
- The branch QR code opens the expected institution and branch in the driver app.