G2G Transfer Manifests Overview
G2G Transfer Manifests are used when a driver picks up many barcoded items from an institution branch before the final delivery address is known or confirmed.
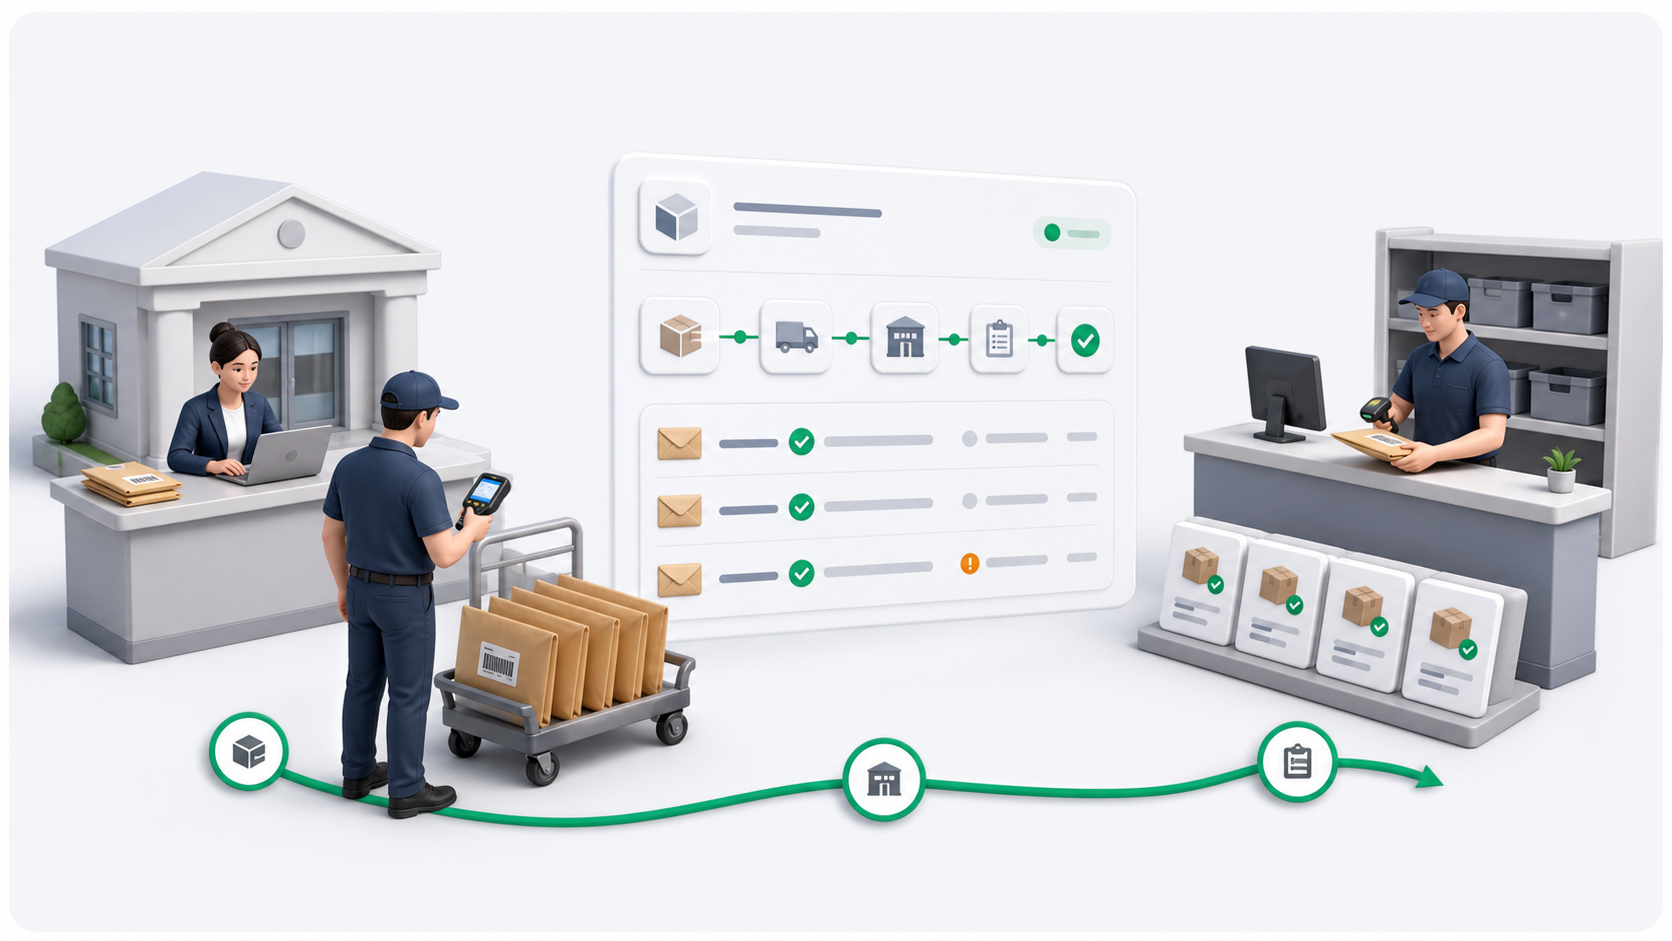
The manifest is a custody record. It proves which driver collected which barcodes from which institution branch, where the items should be handed to processing staff, which items were received, and which items became delivery orders.
After processing, each valid manifest item becomes a normal OnDi delivery order. From that point, dispatchers, drivers, proof of delivery, COD, returns, reporting, and billing use the regular delivery order workflow.
When To Use It
Use a G2G Transfer Manifest when:
- An institution branch hands over envelopes, packages, cards, documents, or similar barcoded items.
- The pickup driver must scan and confirm every item collected.
- Processing staff will later decide the destination address or destination institution branch.
- The operation needs branch, barcode, pickup driver, receipt, exception, and created order traceability.
Do not use this flow for normal one-order delivery creation when the pickup and destination are already known. Create a delivery order directly instead.
End-To-End Flow
Think about G2G in two passes: first you prepare the tenant, then users run the daily pickup and processing flow.
First-Time Setup
- Tenant admin enables Transfer Manifest in System Settings.
- Tenant admin creates at least one Processing Point.
- Tenant admin creates or edits a customer and sets User Type to Institution.
- Tenant admin opens that institution customer and adds branch locations.
- Tenant admin links each active branch to the correct processing point.
- Tenant admin generates and prints branch barcode batches.
- Branch staff place one barcode label on each physical item.
Daily Operation
- Driver arrives at the institution branch.
- Driver scans the branch QR code or selects the institution and branch.
- Driver scans item barcodes into a draft manifest.
- Driver reviews the accepted barcode list and submits pickup.
- Driver arrives at the processing point and hands off the items.
- Processing staff receive the items and record exceptions.
- Processing staff assign a destination address or destination branch.
- OnDi creates normal delivery orders for valid items.
| Step | Role | What happens |
|---|---|---|
| 1. Configure setup | Tenant admin | Enable Transfer Manifest settings, create processing points, prepare institution branches, and print item barcode labels. |
| 2. Start pickup | Driver | Open Transfer Manifests in the driver app, scan the branch QR or select the institution branch, and create a draft manifest. |
| 3. Scan items | Driver | Scan or type every barcode being collected. The app keeps the accepted barcode list visible. |
| 4. Submit pickup | Driver | Submit the pickup. The manifest is locked for pickup custody and moves away from draft. |
| 5. Handoff | Driver | Arrive at the processing point so processing staff can receive the manifest. |
| 6. Receive | Dispatcher or processing staff | Start receiving, scan or search arrived items, add exception items, and complete receiving. |
| 7. Assign destination | Dispatcher or processing staff | Choose a destination address or destination branch and delivery service for received items. |
| 8. Create delivery orders | System | Each assigned item becomes a normal delivery order with source manifest and barcode history. |
Main Roles
| Role | Main responsibility |
|---|---|
| Tenant admin | Set up the feature, processing points, institution branches, barcode batches, and default service choices. |
| Driver | Pick up items from the institution branch, scan barcodes, submit pickup, and mark arrival at processing. |
| Dispatcher or processing staff | Receive items, record exceptions, assign destinations, and create delivery orders. |
| Delivery dispatcher | Continue created delivery orders through the normal delivery lifecycle. |
What The Manifest Tracks
A transfer manifest records:
- Manifest number and status.
- Institution and source branch.
- Processing point.
- Pickup driver and pickup timestamps.
- Expected item count, received item count, exception count, and created order count.
- Every scanned barcode and item status.
- Exceptions and resolution notes.
- Created delivery order links.
- Manifest events and custody history.
What Happens After Order Creation
When destination assignment creates a delivery order, the order behaves like any other OnDi delivery order. Dispatchers can assign it, route it, track it, and complete delivery using the normal tools.
The source manifest remains connected for traceability. Delivery lists can show the G2G barcode and source manifest where those columns are enabled.
Recommended Reading Order
- Concepts and Statuses
- Settings and Processing Points
- Institution Users and Branches
- Barcode Batches and Printing
- Start a Transfer Manifest
- Scan Items and Submit Pickup
- Receive a Manifest
- Process Items and Create Orders
- Bulk Manifest Item Scan