Process Items and Create Orders
Destination assignment is the step that turns a received manifest item into a normal delivery order.
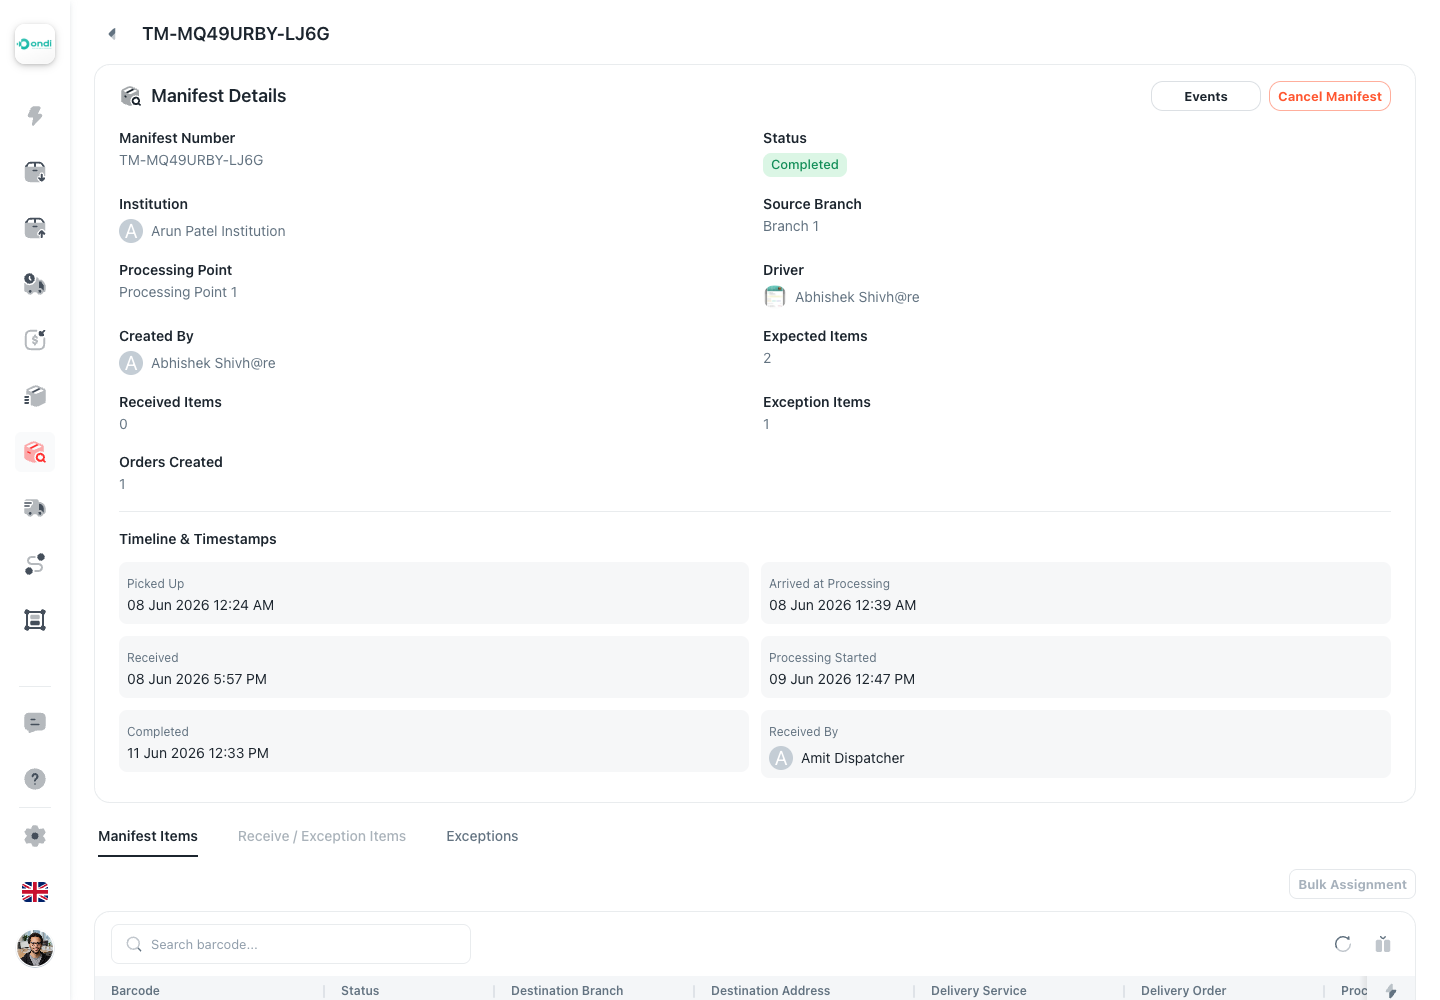
Step 1: Confirm The Manifest Is Ready
Open the manifest detail page and check the status. Assignment is available after receiving is complete and the manifest is in Received, Received with exceptions, or Processing.
Use the item list to confirm the item is ready:
- The item is Received.
- It is not already linked to a delivery order.
- It is not voided.
- It is not still blocked by an unresolved exception.
Step 2: Assign One Item
From the manifest detail Items tab:
- Find the received item.
- Open the row action to assign a destination.
- Choose Address or Branch destination mode.
- Fill the destination.
- Confirm the delivery service.
- Submit the assignment.
When submission succeeds, the item becomes a created delivery order.
Step 3: Choose The Destination Correctly
| Mode | Use it when |
|---|---|
| Address | The item should be delivered to a normal address. |
| Branch | The item should be delivered to an institution branch. |
In branch mode, staff can filter by institution before choosing the destination branch.
Step 4: Confirm The Delivery Service
The assignment form can preload the tenant default delivery service.
Review the service before submitting. Use the correct service because it can affect pricing, service rules, dispatch handling, proof requirements, and reporting.
Step 5: Use Bulk Manifest Item Scan When Items Share A Destination
Use Bulk Manifest Item Scan when many received items should receive the same destination and delivery service.
The workflow lets staff:
- Search received items.
- Enter item codes manually.
- Scan item barcodes.
- Choose address or branch destination.
- Choose delivery service.
- Validate the list and execute only eligible items.
What Order Creation Changes
When a manifest item becomes a delivery order:
- The item status moves to Order created.
- The barcode status moves to Order created.
- The manifest created order count increases.
- The delivery order keeps source manifest and barcode history.
- The order continues through the normal delivery lifecycle.
Do not assign a placeholder destination just to clear the queue. The created delivery order uses the destination selected here.
Review The Result
After submission, reopen the manifest item row or delivery order link. Confirm the created delivery order has the correct destination and service before it moves into dispatch work.